 P24
No image
P24
No image
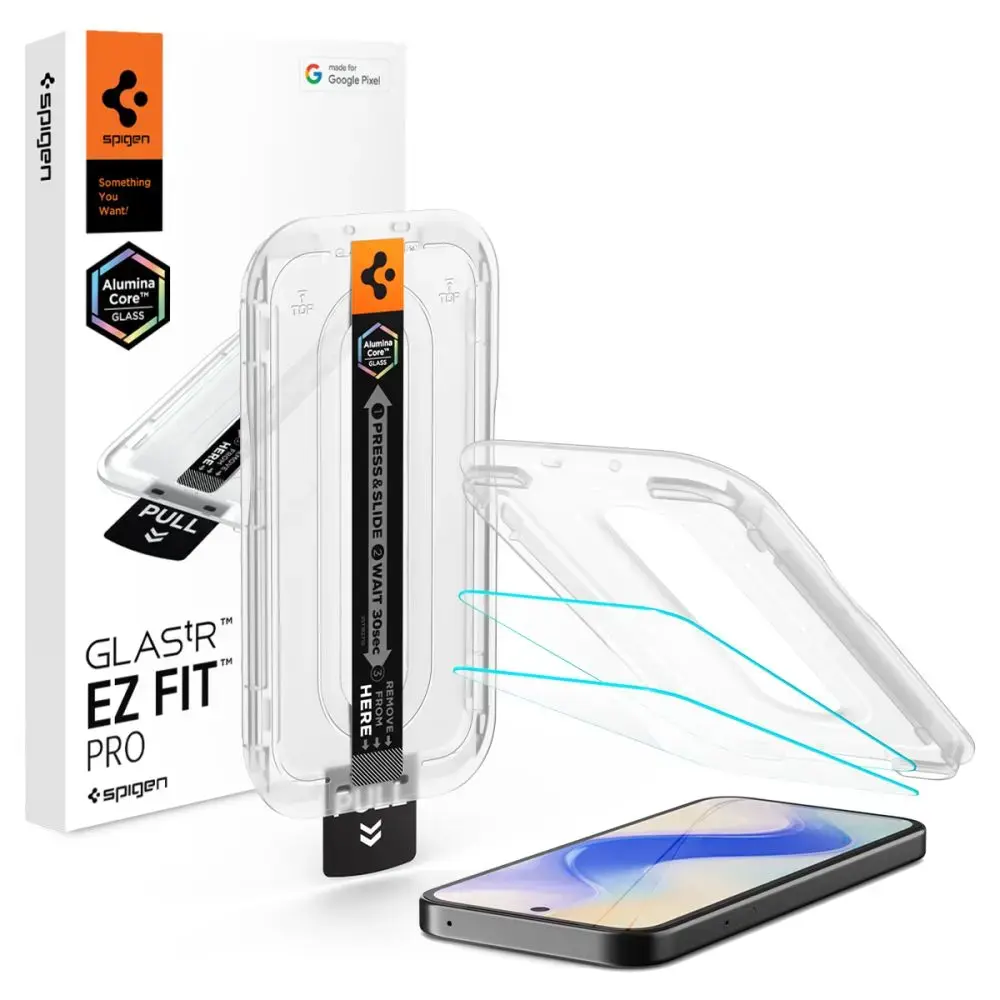
SZKŁO HARTOWANE SPIGEN GLAS.TR "EZ FIT PRO AC" 2-PACK GOOGLE PIXEL 10A CLEAR
14.75
EUR
Price incl. VAT
In stock - 50+ pcs.
Delivery
Latvia
Pick up in store14.07.2026 *
Free
Pick up from parcel locker15.07.2026 *
2.41 EUR
Courier delivery15.07.2026 *
4.99 EUR
Description
The Spigen Glas.tR EZ Fit Pro tempered glass represents the latest generation of screen protection, featuring cutting-edge AluminaCore technology for maximum durability and superior scratch resistance. Designed specifically for the Google Pixel 10A, this screen protector combines industry-leading 10H+ hardness with a crystal-clear finish, ensuring your display remains pristine and fully responsive to every touch.
Key Features
- Precision Installation: Includes the innovative EZ Fit Pro mounting frame for a perfect, bubble-free application every time.
- AluminaCore Technology: Advanced ion-exchange process provides 10H+ hardness, offering superior scratch protection compared to standard tempered glass.
- Flawless Clarity: Maintains original screen brightness and color accuracy with zero touch latency.
- Oleophobic Coating: Resists fingerprints and smudges, keeping your screen clean and smooth.
- Comfortable Design: Precision-milled edges ensure a seamless feel and smooth navigation.
- 100% Original: Authentic Spigen product in original packaging.
Technical Specifications
- Model: Glas.tR EZ Fit Pro HD
- Compatibility: Google Pixel 10A
- Material: Tempered Glass
- Hardness: 10H+
- Dimensions: 149.32 × 68.37 mm
- Color: Clear
- Coating: Oleophobic
Kit Contents
- 1 × Spigen Glas.tR EZ Fit Pro Tempered Glass
- 1 × EZ Fit Pro Installation Frame
Installation Guide
- For best results, install in a bathroom after a shower; the steam helps settle airborne dust.
- Thoroughly clean and degrease your screen, then polish it with a dry cloth until no dust particles remain.
- Place the mounting frame with the pre-installed glass onto your phone for perfect alignment.
- Pull the starter tab to initiate the automatic adhesion process.
- Press down firmly in the indicated areas to ensure the adhesive bonds correctly.
- Remove the frame and use circular motions to push out any remaining air bubbles.
Note: Due to the curvature of some displays, a slight "halo" effect may appear around the edges after installation. This is a natural occurrence depending on the specific screen design.